
Learn how chimney flashing is correctly installed on Massachusetts homes. Call North Shore Roofing MA at (978) 977-3816 for a free inspection today.
Chimney flashing installation is one of the most technically demanding parts of any roofing project — and when it's done wrong, the consequences show up fast. Water finds its way through the smallest gaps, and a poorly flashed chimney can cause significant damage to ceilings, walls, roof decking, and insulation long before a homeowner even notices a stain. As a locally owned and operated roofing contractor serving the North Shore of Massachusetts, we want homeowners to understand what correct chimney flashing installation actually involves and why it demands the skills of a licensed professional.
Flashing is the metal barrier that seals the joint where your chimney meets the roof surface. Because a chimney is a rigid masonry structure and a roof is a surface that expands, contracts, and flexes with New England's extreme seasonal temperature swings, that joint is always under stress. A proper flashing system accounts for that movement, which is exactly why the installation process is more involved than most people realize.
Correct chimney flashing installation begins with a thorough assessment of the existing masonry, the roof slope, and the condition of the surrounding shingles. If there is old flashing in place, we remove it completely rather than layering new material on top of deteriorated or improperly installed metal — a shortcut that leads to premature failure. Any damaged shingles or compromised roof decking in the surrounding area must be addressed before new flashing goes down.
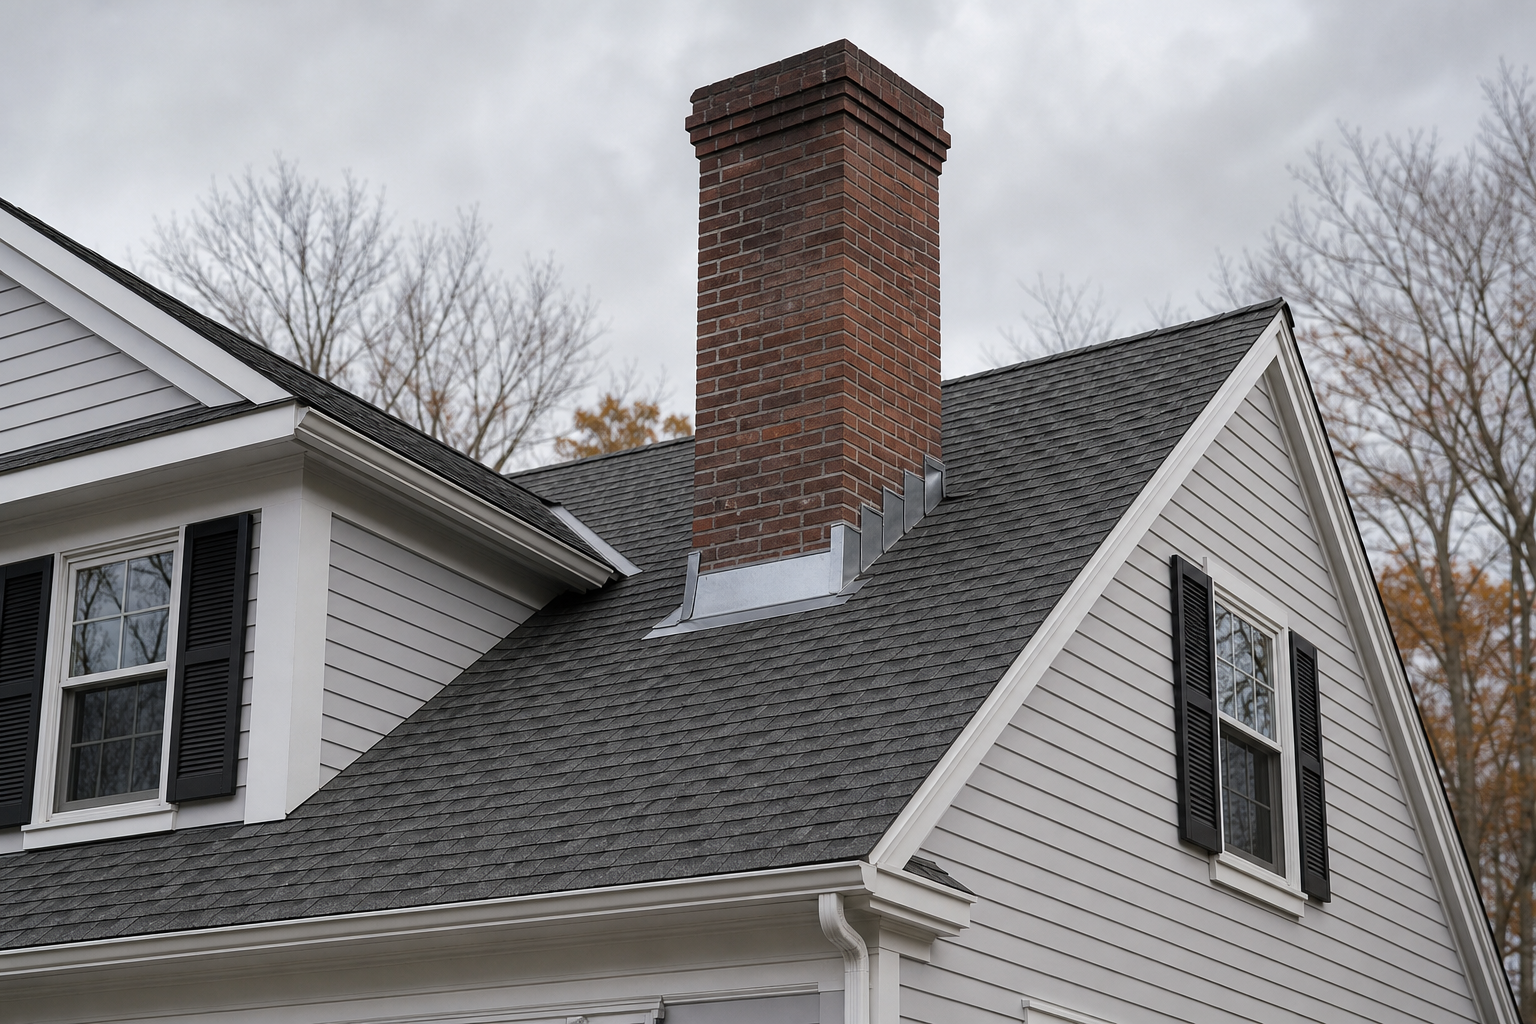
A properly installed chimney flashing system consists of two distinct components working together: the base flashing and the counter flashing. The base flashing is shaped and fitted against the bottom and sides of the chimney, tucked beneath the shingles so that water is directed down and away from the joint. It is not simply laid flat — each piece is custom bent to match the angle of the roof pitch and the dimensions of the chimney itself. On the North Shore, where we see driving rain, heavy snow loads, and freeze-thaw cycles throughout the year, this precision fit is non-negotiable.
The counter flashing is embedded directly into the mortar joints of the chimney's masonry. We cut a reglet — a horizontal channel — into the mortar at the correct height using a saw or chisel, then fold the top edge of the counter flashing into that channel. This embedded edge is then sealed with a high-quality, flexible roofing sealant that bonds to masonry and resists the movement that naturally occurs as temperatures rise and fall. Counter flashing overlaps the base flashing below it, creating a layered system that keeps water out even under heavy storm conditions.
Around the back of the chimney — the downslope side — a saddle or cricket is often required when the chimney is wide enough to interrupt significant water flow. A cricket is a small peaked structure built behind the chimney to divert water around it rather than allowing it to pool against the masonry. Skipping this step on larger chimneys is a common mistake that leads to chronic leaking, and it's one we address as part of a thorough installation when the chimney dimensions call for it. If you're concerned about hidden structural issues that may already exist beneath your roof surface, our article on why roof decking damage is often hidden until a full replacement is underway explains how moisture intrusion can silently worsen over time.
With November now here and winter approaching fast on the North Shore, this is exactly the time of year when poorly flashed chimneys become a serious problem. Ice, snow, and freeze-thaw cycles put every vulnerable joint to the test. If your chimney flashing hasn't been inspected recently, addressing it now — before the heaviest weather arrives — can prevent costly interior water damage this season. The energy implications of a compromised roof system are real as well, and how a damaged roof affects your home's energy efficiency in Massachusetts winters goes deeper into why a tight, properly sealed roof matters for your heating costs.
If you have questions about your chimney flashing or want a professional assessment before winter sets in, we're here to help. Call North Shore Roofing MA at (978) 977-3816 to schedule your free inspection or quote. We're locally owned and operated, and we stand behind every installation we complete on the North Shore.
Need Help With Your Roof?
Our experienced roofing team serves the North Shore and surrounding areas — inspections, repairs, and full replacements.